When it comes to remote access, Raspberry Pi VNC port forwarding is a game-changer for tech enthusiasts and professionals alike. Imagine being able to control your Raspberry Pi from anywhere in the world—pretty cool, right? But hold up, there’s a lot to unpack here if you want to set it up properly. In this guide, we’ll break down everything you need to know about Raspberry Pi VNC port forwarding in a way that’s easy to digest, even if you’re not a tech wizard.
Remote access might sound intimidating, but trust me, it’s not as complicated as it seems. VNC, or Virtual Network Computing, is like a magic wand for controlling your Raspberry Pi from another device. Whether you’re tinkering with IoT projects or just want to manage your Pi from your couch, mastering VNC port forwarding is essential. Let’s dive in and make sense of all the tech jargon.
By the end of this article, you’ll have all the tools and knowledge you need to set up Raspberry Pi VNC port forwarding like a pro. We’ll cover everything from the basics to advanced tips, ensuring you’re fully equipped to take control of your Pi remotely. So, grab a coffee, sit back, and let’s get started!
- Rob Van Dam Net Worth The Inside Scoop On His Wealth Career And Lifestyle
- Dl Mclaughlin Funeral Home Obituaries Danville Va A Heartfelt Tribute
What is Raspberry Pi VNC Port Forwarding?
VNC port forwarding is like creating a secret tunnel between your Raspberry Pi and the outside world. It allows you to access your Pi’s desktop environment from another device, even if you’re miles away. Think of it as a virtual handshake that lets you interact with your Pi as if you were sitting right in front of it.
Here’s the deal: when you enable VNC on your Raspberry Pi, it opens up a specific port (usually port 5900) for communication. But if you want to access it from outside your local network, you’ll need to forward that port through your router. This process is what we call port forwarding, and it’s crucial for remote access.
Why is this important? Well, imagine running a home automation system or a media server on your Raspberry Pi. With VNC port forwarding, you can check on your projects, troubleshoot issues, or even stream media from anywhere. It’s like having a remote control for your Pi, and who wouldn’t want that?
- Bill Belichick Net Worth The Untold Story Of Footballs Mastermind
- Medow Systo The Ultimate Guide To Understanding Its Uses Benefits And Importance
Why Use Raspberry Pi VNC Port Forwarding?
There are tons of reasons why Raspberry Pi VNC port forwarding is worth exploring. First off, it’s incredibly versatile. Whether you’re a hobbyist working on DIY projects or a professional managing servers, VNC gives you the flexibility to work remotely without compromising performance.
Here are some key benefits:
- Convenience: Access your Raspberry Pi from anywhere, anytime.
- Efficiency: Streamline your workflow by managing multiple projects remotely.
- Security: With proper configuration, VNC can be as secure as any other remote access tool.
- Cost-Effective: No need for expensive hardware or subscriptions—just your Pi and an internet connection.
Let’s face it, in today’s fast-paced world, being able to work remotely is a huge advantage. Raspberry Pi VNC port forwarding gives you that flexibility, making it an essential skill for anyone working with Pi.
Setting Up VNC on Your Raspberry Pi
Before we dive into port forwarding, let’s make sure VNC is up and running on your Raspberry Pi. This step is super important, so don’t skip it!
Here’s how you do it:
- Boot up your Raspberry Pi and open the terminal.
- Type
sudo apt updateand hit enter. - Next, type
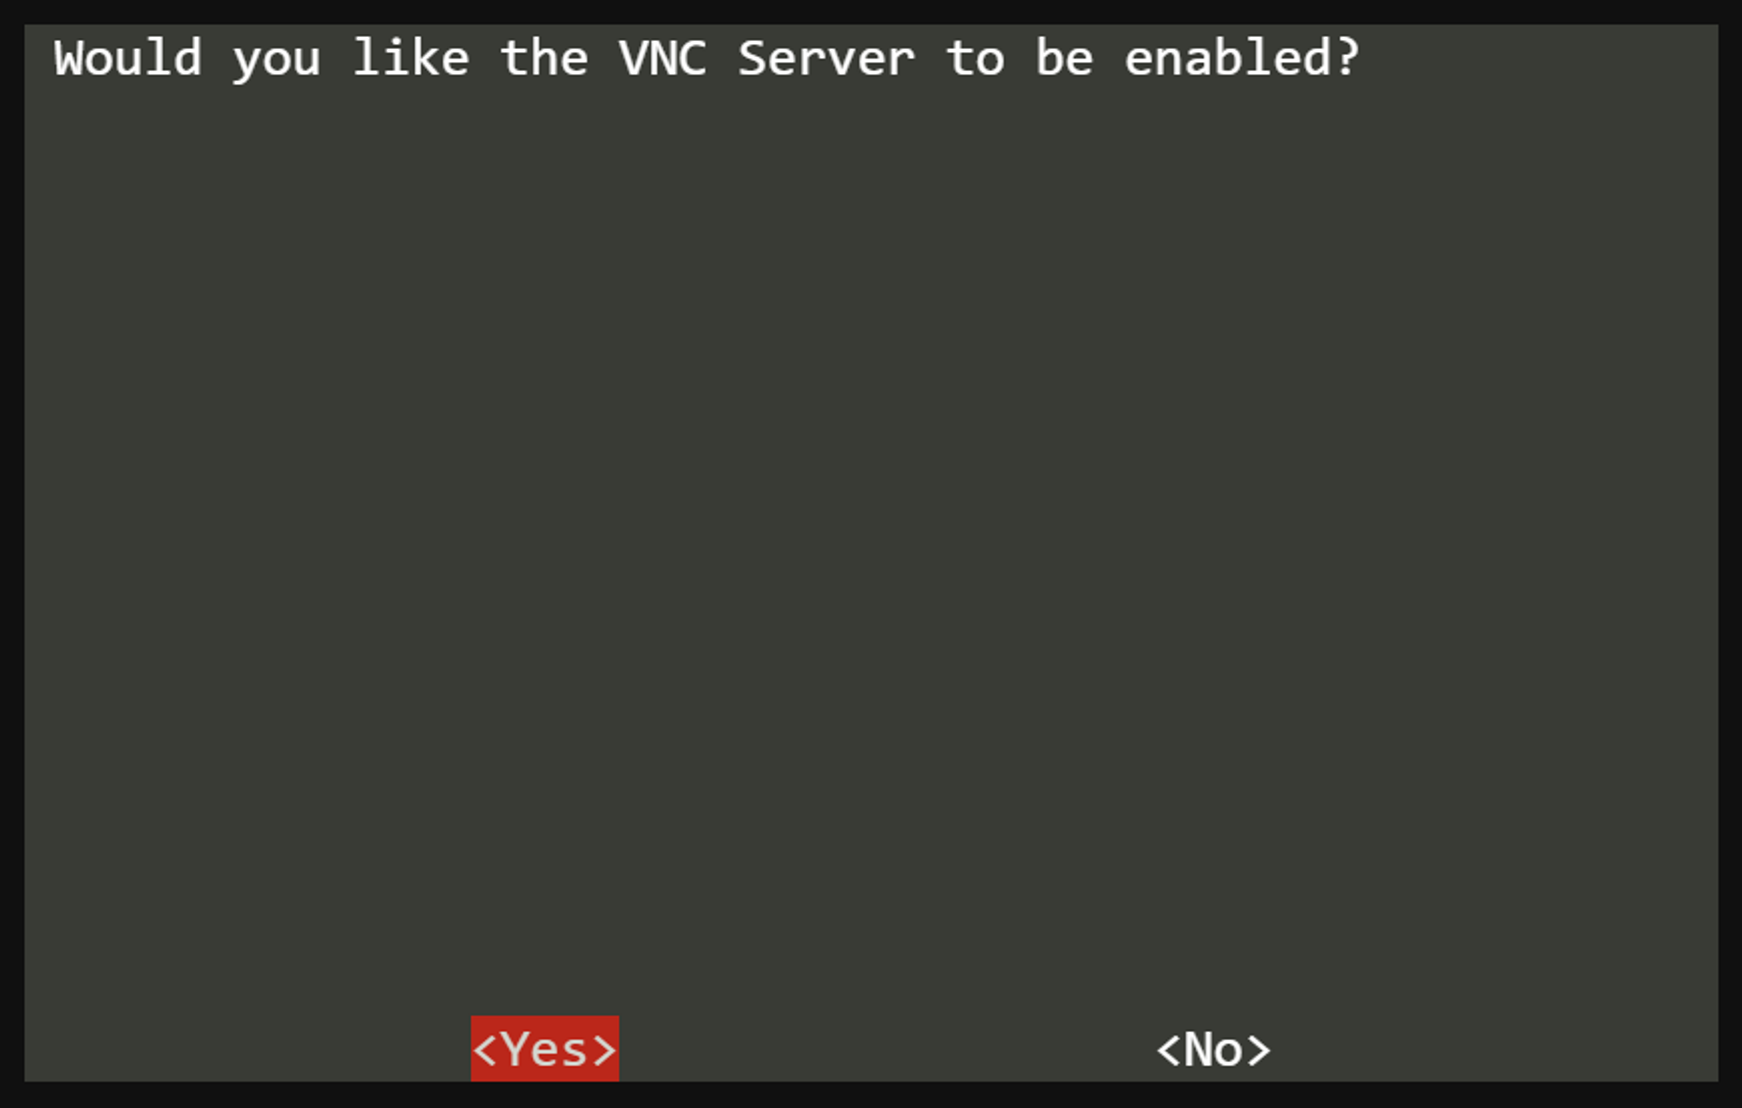
sudo apt install realvnc-vnc-server realvnc-vnc-viewerto install the VNC server and viewer. - Once installed, enable VNC by navigating to
Raspberry Pi Configurationunder Preferences. - Select the Interfaces tab and enable VNC.
Voila! Your Raspberry Pi is now ready to accept VNC connections. But wait, there’s more—we still need to set up port forwarding to make it accessible from the outside world.
Troubleshooting Common VNC Issues
Let’s be honest, things don’t always go smoothly the first time around. If you’re having trouble setting up VNC, here are a few common issues and how to fix them:
- Connection Refused: Double-check that VNC is enabled and running on your Pi.
- Authentication Errors: Make sure you’re using the correct username and password for your Pi.
- Network Issues: Ensure your Pi is connected to the internet and has a static IP address.
By addressing these issues early on, you’ll save yourself a lot of headaches down the line. Trust me, troubleshooting is half the fun!
Understanding Port Forwarding
Port forwarding might sound like rocket science, but it’s actually pretty straightforward once you get the hang of it. Think of it as giving your Raspberry Pi a unique address on the internet. By forwarding a specific port (in this case, 5900 for VNC), you’re telling your router to direct incoming traffic to your Pi.
Here’s a quick breakdown of how it works:
- Log in to your router’s admin panel using your web browser.
- Find the port forwarding section (it’s usually under Advanced Settings).
- Add a new rule, specifying the port number (5900) and the local IP address of your Raspberry Pi.
- Save the changes and test the connection.
That’s it! Your Raspberry Pi is now accessible from the outside world. Just remember to keep your router firmware up to date for optimal performance and security.
Choosing the Right Port
While port 5900 is the default for VNC, you can use any port you like. However, it’s a good idea to stick with the default unless you have a specific reason to change it. Why? Because changing the port can complicate things, especially if you’re new to networking.
Here are some tips for choosing the right port:
- Stick to common ports unless you have a specific need for something else.
- Avoid using privileged ports (0-1023) unless you know what you’re doing.
- Document your port choices to avoid confusion later on.
By following these guidelines, you’ll ensure a smooth and hassle-free setup process.
Securing Your Raspberry Pi VNC Connection
Security should always be a top priority when setting up remote access. The last thing you want is someone unauthorized gaining access to your Raspberry Pi. Fortunately, there are several ways to secure your VNC connection:
- Use Strong Passwords: Avoid using simple or easily guessable passwords.
- Enable Encryption: VNC supports encryption, so make sure it’s turned on.
- Limit Access: Restrict access to specific IP addresses if possible.
By implementing these security measures, you’ll significantly reduce the risk of unauthorized access. Remember, a little extra effort now can save you a lot of trouble later.
Best Practices for Secure Port Forwarding
When it comes to port forwarding, there are a few best practices you should follow:
- Only forward the ports you absolutely need.
- Regularly update your router firmware to patch security vulnerabilities.
- Consider using a firewall to add an extra layer of protection.
By following these practices, you’ll create a secure and reliable setup for your Raspberry Pi VNC connection.
Troubleshooting Port Forwarding Issues
Even with the best-laid plans, things can still go wrong. If you’re having trouble with port forwarding, here are a few common issues and how to fix them:
- Port Not Forwarded: Double-check your router settings to ensure the port is correctly configured.
- Firewall Blocking: Make sure your firewall isn’t blocking the port you’re trying to forward.
- Router Issues: Restart your router and try again. Sometimes a simple reboot can fix the problem.
Don’t get discouraged if you run into issues—troubleshooting is all part of the learning process. With a little patience and persistence, you’ll have your Raspberry Pi VNC connection up and running in no time.
Testing Your Setup
Once you’ve set up VNC port forwarding, it’s time to test your setup. Here’s how:
- Find your public IP address by visiting a site like whatismyip.com.
- Use a VNC client on another device and enter your public IP address and port number.
- If everything is configured correctly, you should see your Raspberry Pi’s desktop environment.
Testing is crucial to ensure everything is working as expected. If you encounter any issues, go back and double-check your settings. Persistence pays off!
Advanced Tips for Raspberry Pi VNC Port Forwarding
Once you’ve mastered the basics, it’s time to take things to the next level. Here are a few advanced tips to enhance your Raspberry Pi VNC experience:
- Use a Dynamic DNS Service: If your IP address changes frequently, a dynamic DNS service can help keep things stable.
- Set Up a Static IP: Assigning a static IP to your Raspberry Pi ensures consistent connectivity.
- Explore SSH Tunneling: For added security, consider using SSH tunneling to encrypt your VNC connection.
These tips will take your Raspberry Pi VNC setup to the next level, giving you even more control and flexibility.
Optimizing Your VNC Experience
There are several ways to optimize your VNC experience for better performance:
- Adjust Resolution Settings: Lowering the resolution can improve connection speed.
- Enable Compression: VNC supports compression, which can reduce bandwidth usage.
- Limit Color Depth: Reducing color depth can also improve performance, especially over slower connections.
By tweaking these settings, you’ll ensure a smooth and responsive VNC experience, even on slower networks.
Conclusion
Raspberry Pi VNC port forwarding might seem daunting at first, but with the right guidance, it’s a skill anyone can master. From setting up VNC to configuring port forwarding and securing your connection, we’ve covered everything you need to know to take control of your Pi remotely.
Remember, the key to success is persistence and practice. Don’t be afraid to experiment and try new things. And most importantly, have fun with it! Whether you’re building home automation systems or managing servers, Raspberry Pi VNC port forwarding opens up a world of possibilities.
So, what are you waiting for? Dive in, explore, and let us know how it goes. Feel free to leave a comment below or share this article with your friends. Together, we can build a community of Raspberry Pi enthusiasts who are pushing the boundaries of what’s possible!
Table of Contents
- What is Raspberry Pi VNC Port Forwarding?
- Why Use Raspberry Pi VNC Port Forwarding?
- Setting Up VNC on Your Raspberry Pi
- Understanding Port Forwarding
- Securing Your Raspberry Pi VNC Connection
- Troubleshooting Port Forwarding Issues
- Advanced Tips for Raspberry Pi VNC Port Forwarding
- Optimizing Your VNC Experience
- Conclusion
- Ceacuteline Hobert The Rising Star In The World Of Entertainment
- Weekend Net Worth Unlocking The Secrets Of Building Wealth On Your Days Off