Have you ever wondered how you can control your Raspberry Pi from anywhere in the world? Imagine being able to remotely manage Raspberry Pi with just a few clicks, no matter where you are. This is not science fiction; it’s a reality that thousands of tech enthusiasts and professionals are already enjoying. Whether you're building a home automation system, running a media server, or even creating your own AI-powered gadgets, the ability to remotely manage Raspberry Pi is a game-changer. In this article, we’ll dive deep into the world of remote management and show you exactly how to do it.
Managing Raspberry Pi remotely has become more accessible than ever before. With the right tools and techniques, you can monitor, configure, and control your Pi without being physically present. This opens up endless possibilities for your projects, making them more efficient and flexible. Whether you're a hobbyist or a professional developer, mastering remote management will take your skills to the next level.
This article will walk you through everything you need to know about remotely managing Raspberry Pi. We’ll cover the basics, advanced techniques, troubleshooting tips, and even some cool tricks that will make your life easier. So grab your coffee, sit back, and let’s get started on this exciting journey!
- Brian Brissette Ri The Rising Star In The Business World
- The Chainsmokers Net Worth A Deep Dive Into Their Money Music And Legacy
Why You Should Remotely Manage Raspberry Pi
Let’s face it—nobody wants to be tied down to a single location when working on their projects. Remotely managing Raspberry Pi gives you the freedom to work from anywhere, anytime. Whether you're troubleshooting a home automation system from your office or monitoring a server setup while on vacation, the convenience is undeniable.
Here are some compelling reasons why you should consider remotely managing your Raspberry Pi:
- Flexibility: Access your Raspberry Pi from any device with an internet connection.
- Efficiency: Save time by automating tasks and monitoring systems remotely.
- Cost-Effective: Eliminate the need for expensive hardware or dedicated servers.
- Scalability: Expand your projects seamlessly without being limited by physical location.
Whether you're a seasoned pro or just starting out, the ability to remotely manage Raspberry Pi will significantly enhance your workflow. Let’s explore how to set it up!
- Full Mouth Reconstruction In Victoria Tx Transform Your Smile Today
- Courtney Thornesmith Net Worth The Untold Story Of Fame Fortune And Hollywood Glamour
Setting Up Your Raspberry Pi for Remote Access
Step 1: Preparing Your Raspberry Pi
Before diving into remote management, it’s essential to ensure your Raspberry Pi is properly set up. This includes installing the latest version of Raspberry Pi OS and configuring basic settings. Here’s a quick checklist:
- Install Raspberry Pi OS (preferably the full desktop version).
- Update your system using
sudo apt update && sudo apt upgrade. - Set a static IP address to avoid connection issues.
- Enable SSH (Secure Shell) for secure remote connections.
These steps may sound technical, but trust me, they’re pretty straightforward. If you’re new to this, don’t worry—we’ll break it down step by step later in the article.
Step 2: Configuring SSH
SSH is your best friend when it comes to remotely managing Raspberry Pi. It allows you to securely connect to your Pi from any device. Here’s how to enable SSH on your Raspberry Pi:
- Open the Raspberry Pi Configuration tool by typing
sudo raspi-configin the terminal. - Select the “Interfacing Options” menu.
- Enable SSH and follow the prompts to complete the setup.
Once SSH is enabled, you can connect to your Raspberry Pi using tools like PuTTY (for Windows) or the built-in terminal on macOS and Linux.
Understanding the Basics of Remote Management
Remote management involves several key components, including SSH, VNC, and web interfaces. Each method has its own advantages and use cases. Let’s take a closer look at each one:
SSH: The Powerhouse of Remote Access
SSH is the most popular and secure way to remotely manage Raspberry Pi. It allows you to execute commands, transfer files, and manage your Pi’s configuration from any location. Here’s why SSH is so powerful:
- Secure: SSH encrypts all data transmitted between your device and the Raspberry Pi.
- Efficient: You can perform complex tasks with just a few commands.
- Portable: Works seamlessly across different operating systems.
To connect via SSH, you’ll need the IP address of your Raspberry Pi and a compatible client. For example, on macOS and Linux, you can simply type ssh pi@your_pi_ip in the terminal. On Windows, you’ll need a tool like PuTTY.
VNC: Visual Remote Access
If you prefer a graphical interface, VNC (Virtual Network Computing) is the way to go. VNC allows you to remotely control your Raspberry Pi’s desktop environment as if you were sitting right in front of it. Here’s how to set it up:
- Install the VNC Server on your Raspberry Pi by typing
sudo apt install realvnc-vnc-server realvnc-vnc-viewer. - Enable VNC through the Raspberry Pi Configuration tool.
- Download the VNC Viewer app on your device and connect using your Pi’s IP address.
VNC is perfect for tasks that require a visual interface, such as designing user interfaces or monitoring graphical outputs.
Advanced Techniques for Remote Management
Once you’ve mastered the basics, it’s time to level up your skills with some advanced techniques. These methods will help you streamline your workflow and make the most out of your Raspberry Pi.
Using Web Interfaces
Web interfaces provide an easy way to manage your Raspberry Pi from any browser. Tools like Pi-hole, Home Assistant, and Node-RED offer web-based dashboards that allow you to control your Pi without needing SSH or VNC.
For example, Pi-hole is a popular ad-blocking tool that can be managed entirely through a web interface. Simply install it on your Raspberry Pi and access the dashboard by typing your Pi’s IP address in your browser.
Automating Tasks with Cron Jobs
Cron jobs are scheduled tasks that run automatically at specified intervals. They’re perfect for automating repetitive tasks like backups, system updates, or data collection.
Here’s how to create a simple cron job:
- Open the crontab editor by typing
crontab -ein the terminal. - Add a new line with the desired schedule and command. For example:
0 0 * * * sudo apt update && sudo apt upgrade -ywill update your system daily at midnight. - Save and exit the editor.
Cron jobs save you time and ensure your Raspberry Pi stays up-to-date without manual intervention.
Troubleshooting Common Issues
Even with the best setup, things can go wrong. Here are some common issues you might encounter when remotely managing Raspberry Pi and how to fix them:
Connection Problems
If you’re unable to connect to your Raspberry Pi, check the following:
- Ensure your Pi is connected to the internet and has a static IP address.
- Verify that SSH or VNC is enabled and running.
- Check your firewall settings to ensure they’re not blocking incoming connections.
Performance Issues
If your Raspberry Pi seems sluggish or unresponsive, try these tips:
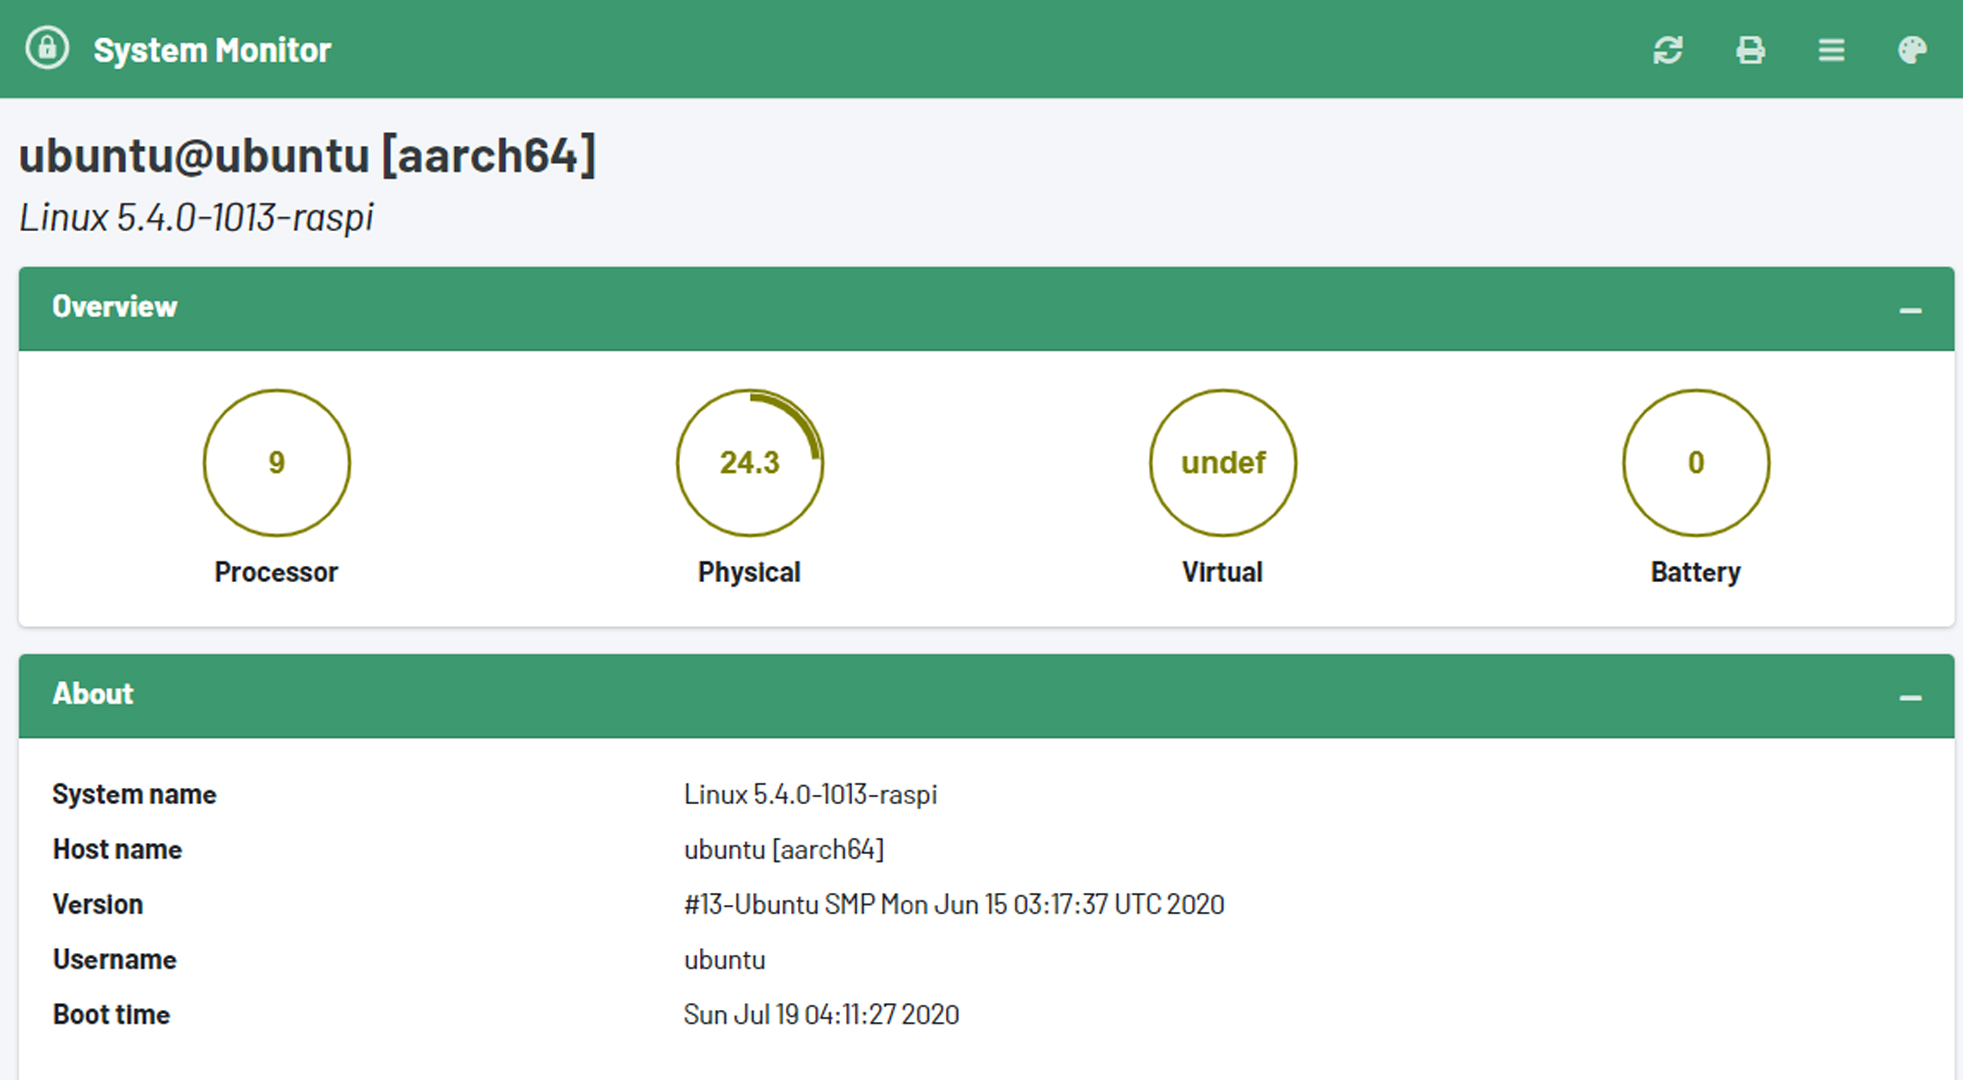
- Monitor your Pi’s resource usage using tools like
toporhtop. - Disable unnecessary services and processes to free up resources.
- Consider upgrading your Pi’s hardware, such as adding more RAM or using an SSD instead of an SD card.
By addressing these issues proactively, you can ensure a smooth and reliable remote management experience.
Security Best Practices
Security is paramount when it comes to remotely managing Raspberry Pi. Here are some best practices to keep your system safe:
Change Default Credentials
The default username and password for Raspberry Pi are well-known (pi and raspberry). Change them immediately to prevent unauthorized access.
Use Strong Passwords
Create strong, unique passwords for your Raspberry Pi. Avoid using easily guessable words or patterns.
Enable Two-Factor Authentication
Two-factor authentication adds an extra layer of security by requiring a second form of verification, such as a code sent to your phone.
Conclusion and Next Steps
Remotely managing Raspberry Pi opens up a world of possibilities for your projects. Whether you’re a hobbyist or a professional, mastering this skill will significantly enhance your workflow and flexibility. By following the steps outlined in this article, you’ll be able to set up, configure, and manage your Raspberry Pi from anywhere in the world.
So what are you waiting for? Dive in and start exploring the endless potential of remote management. Leave a comment below to share your experiences or ask any questions. And don’t forget to check out our other articles for more tips and tricks on all things Raspberry Pi!
Table of Contents
- Where Is Phil Laak From The Untold Story Of The Poker Legend
- Whos The Richest Actor Unveiling The Wealth Behind The Spotlight