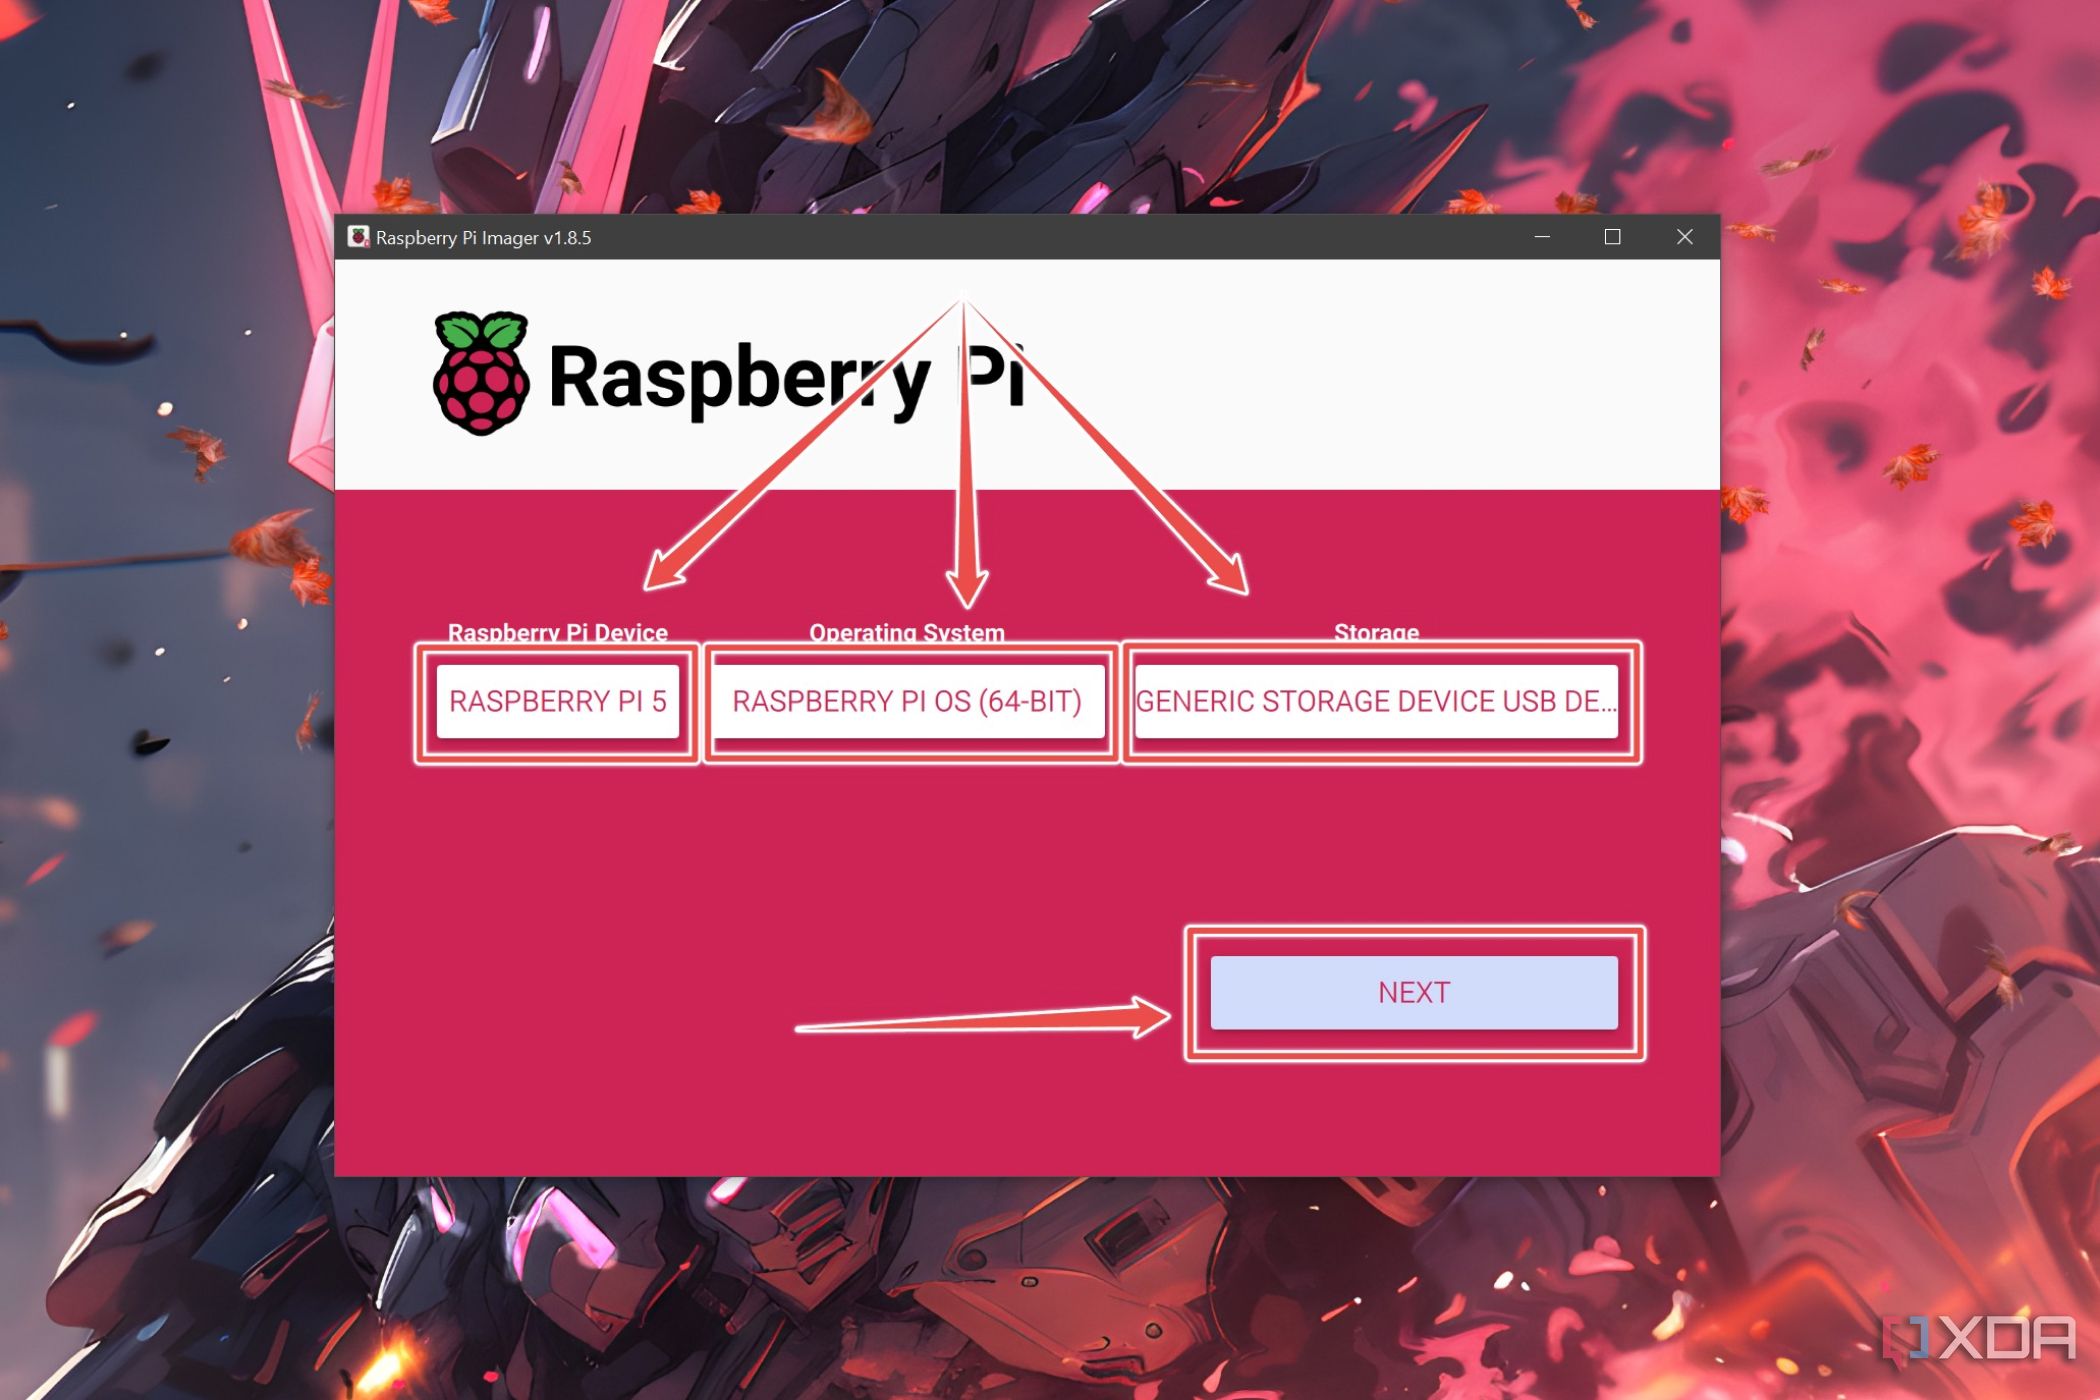
SSH into Raspberry Pi outside network? Ever wondered if it's possible? It totally is, and it’s not as complicated as it sounds! Whether you're tinkering with your Raspberry Pi from another location or need remote access for a project, SSH (Secure Shell) is your golden ticket. Let me break it down for you in simple terms, so you can get started without pulling your hair out.
SSH, or Secure Shell, is like a secret tunnel that lets you control your Raspberry Pi remotely. You know, like when you're chilling at a café and you want to tweak something on your Pi back home. Sounds cool, right? But here’s the thing: accessing your Pi outside your local network can feel like trying to find a needle in a haystack if you don’t know what you're doing. Don’t worry, I’ve got your back.
This guide will walk you through everything you need to know about SSH, from setting it up to troubleshooting common issues. By the end of this, you’ll be able to SSH into your Raspberry Pi like a pro, even when you're miles away. Let’s dive in!
- Pinayflix 3 The Ultimate Streaming Experience Youve Been Waiting For
- Bone Thugsnharmony Members The Story Behind The Harmony
Table of Contents:
- What is SSH and Why Does It Matter?
- Setting Up Your Raspberry Pi for SSH
- Understanding Port Forwarding
- Dynamic DNS: Your Key to Stability
- How to Use an SSH Client
- Troubleshooting Common Issues
- Top Security Tips for SSH
- Alternatives to Traditional SSH
- Frequently Asked Questions
- Wrapping It Up
What is SSH and Why Does It Matter?
SSH, or Secure Shell, is basically a way to connect to another computer securely over the internet. Think of it like a private line where you can send commands, transfer files, and manage stuff on your Raspberry Pi without anyone peeking. For makers, developers, and hobbyists, this is super useful because it allows you to work on projects remotely without being physically present.
When you’re trying to SSH into Raspberry Pi outside network, you’re essentially opening a secure door to your device from anywhere in the world. But here’s the kicker: it’s not just about convenience. SSH also encrypts all communication between your computer and the Pi, making sure no one can snoop on what you’re doing. Pretty neat, huh?
- R Truth Net Worth The Untold Story Of A Rising Star
- Skin Society And Wax Bellingham The Ultimate Guide To Glowing Skin
Why Should You Care About SSH?
Here’s why SSH matters:
- Remote Access: You can control your Raspberry Pi from anywhere, whether you're at work, traveling, or just too lazy to walk to the other room.
- Security: SSH encrypts everything, so your data stays safe from prying eyes.
- Automation: You can set up scripts and tasks to run on your Pi remotely, saving you time and effort.
Setting Up Your Raspberry Pi for SSH
Before you can SSH into Raspberry Pi outside network, you need to make sure your Pi is ready for the task. Let’s walk through the setup process step by step.
Enabling SSH on Your Raspberry Pi
First things first, you need to enable SSH on your Raspberry Pi. Here’s how:
- Boot up your Raspberry Pi and log in.
- Open the terminal and type
sudo raspi-config. - Use the arrow keys to navigate to
Interfacing Optionsand hit Enter. - Select
SSHand enable it. - That’s it! SSH is now ready to roll on your Pi.
Pro tip: If you’re setting up a headless Raspberry Pi (without a monitor or keyboard), you can enable SSH by creating an empty file called ssh in the boot partition. Easy peasy!
Understanding Port Forwarding
Port forwarding is like giving your Raspberry Pi a special address that anyone on the internet can use to reach it. Without port forwarding, your Pi is hidden behind your router, making it impossible to access from outside your network.
Here’s how you set it up:
- Log in to your router’s admin interface. This usually involves typing something like
192.168.0.1or192.168.1.1in your browser. - Find the port forwarding section. It might be under a tab like
AdvancedorNetwork. - Create a new rule and set the external and internal ports to
22(the default SSH port). - Point the rule to your Raspberry Pi’s local IP address (something like
192.168.1.100). - Save the changes and reboot your router just to be safe.
Remember, every router is different, so you might need to consult your router’s manual or search online for specific instructions.
Dynamic DNS: Your Key to Stability
Dynamic DNS (DDNS) is like a lifeline for your Raspberry Pi when you’re trying to SSH into it from outside. Your home internet connection probably has a dynamic IP address, which means it can change every now and then. DDNS solves this by assigning a fixed domain name to your Pi, so you can always find it, no matter what.
Here’s how you set it up:
- Sign up for a DDNS service like No-IP or DynDNS.
- Create a hostname for your Raspberry Pi, like
myraspberrypi.ddns.net. - Install the DDNS client on your Pi to keep the hostname updated with your current IP address.
- Test it out by pinging your hostname from another device.
Now, even if your IP address changes, your hostname will still point to your Pi. Sweet, right?
How to Use an SSH Client
Once everything is set up, it’s time to connect to your Raspberry Pi using an SSH client. If you’re on a Mac or Linux machine, you’re in luck because SSH is already built in. Just open the terminal and type:
ssh pi@your.hostname.com
Windows users can use PuTTY or the built-in SSH client in newer versions of Windows 10. Here’s how:
- Open Command Prompt or PowerShell.
- Type
ssh pi@your.hostname.comand hit Enter. - Enter your Pi’s password when prompted.
Boom! You’re now connected to your Raspberry Pi remotely. Feel free to issue commands, transfer files, or do whatever you need to do.
Troubleshooting Common Issues
Even with the best setup, things can go wrong sometimes. Here are some common issues and how to fix them:
- Connection Refused: Double-check your port forwarding settings and make sure SSH is enabled on your Pi.
- Wrong IP Address: Verify your Pi’s IP address and ensure your DDNS service is working correctly.
- Authentication Failed: Make sure you’re using the correct username and password for your Pi.
If you’re still stuck, try resetting your router or rebooting your Pi. Sometimes, a fresh start can work wonders.
Top Security Tips for SSH
Security is crucial when you’re exposing your Raspberry Pi to the internet. Here are some tips to keep your Pi safe:
- Change the Default SSH Port: Instead of using port 22, switch to a random high-numbered port to avoid automated attacks.
- Use Key-Based Authentication: Disable password-based login and use SSH keys for added security.
- Limit User Access: Restrict SSH access to specific users or IP addresses to reduce the attack surface.
Remember, security is a continuous process. Stay vigilant and keep your software up to date!
Alternatives to Traditional SSH
While SSH is the go-to method for remote access, there are alternatives you might want to consider:
- TeamViewer: A user-friendly option that works across platforms and doesn’t require port forwarding.
- ngrok: A tunneling service that creates secure tunnels to your Pi without the need for DDNS.
- ZeroTier: A virtual network that lets you access your Pi as if it’s on the same local network.
Each option has its pros and cons, so choose the one that best fits your needs.
Frequently Asked Questions
Still have questions? Here are some answers to common queries:
- Can I SSH into Raspberry Pi without port forwarding? Technically yes, but it’s much harder and less reliable.
- Is SSH secure? Yes, as long as you follow best practices and keep your software updated.
- Do I need a static IP address? Not necessarily. DDNS can handle dynamic IP addresses just fine.
Wrapping It Up
SSH into Raspberry Pi outside network doesn’t have to be rocket science. With the right setup and a bit of patience, you can access your Pi from anywhere in the world. Just remember to enable SSH, set up port forwarding, and use DDNS for stability. Oh, and don’t forget to lock down your Pi with strong security measures.
So, what are you waiting for? Get out there and start tinkering! If you found this guide helpful, drop a comment below or share it with your friends. And hey, if you’ve got any questions or tips of your own, let’s chat. Happy hacking!
- Scott Pelley Net Worth The Inside Scoop On His Career Wealth And Success
- Where Is Phil Laak From The Untold Story Of The Poker Legend