So, you're here because you're looking to connect to your Raspberry Pi via VNC securely, right? Well, buckle up, my friend, because we're diving headfirst into the world of remote access, cybersecurity, and all things RPi. Whether you're a seasoned pro or just starting out, this guide is packed with tips and tricks to help you set up a secure connection like a boss. Let's get started!
Nowadays, having a secure connection to your Raspberry Pi is not just a luxury—it’s a necessity. With remote work becoming the norm and more people using RPi for home automation, media centers, or even servers, ensuring that your setup is secure is crucial. VNC (Virtual Network Computing) is one of the most popular methods to remotely control your Pi, but doing it right involves a few steps. Don’t worry; we’ve got you covered.
In this article, we’ll break down everything you need to know about connecting to your RPi via VNC securely. From setting up VNC server to configuring firewalls, we’ll walk you through each step in a way that’s easy to follow and understand. So, grab a cup of coffee, and let’s make your RPi connection as secure as Fort Knox.
- Kevin Gage Net Worth The Untold Story Of Success And Wealth
- Dale Earnhardt Jr Net Worth A Deep Dive Into The Life And Wealth Of A Nascar Legend
Why Connecting to RPi via VNC Securely Matters
Understanding the Importance of Security
Listen up, folks. Security isn’t just a buzzword—it’s a real thing that can save you from a world of trouble. When you connect to your Raspberry Pi via VNC, you’re essentially opening a door to your device from anywhere in the world. And while that’s super convenient, it also means that if you don’t secure that connection properly, you’re basically inviting hackers to come in and mess with your stuff.
Think about it. Your RPi could be running anything from a personal media server to a home automation system. If someone gains unauthorized access, they could potentially steal your data, disrupt your setup, or even use your Pi as part of a botnet. Yikes, right? That’s why securing your VNC connection is so important.
But don’t panic. With a few simple steps, you can ensure that your connection is as secure as it gets. We’ll show you how to set up VNC securely, configure firewalls, and even use encryption to keep your data safe. Trust me, it’s easier than you think.
- Dynamic Marine And Motorsports Reviews The Ultimate Guide For Thrill Seekers
- Pinayflix Rv The Ultimate Guide To Streaming And Entertainment
Setting Up VNC Server on Your Raspberry Pi
Step 1: Installing VNC Server
Alright, let’s get our hands dirty. The first step in connecting to your RPi via VNC is installing the VNC server. There are several VNC servers available, but for this guide, we’ll use RealVNC, which comes pre-installed on most RPi OS versions. Here’s how you do it:
- Boot up your Raspberry Pi and open the terminal.
- Type
sudo raspi-configand hit Enter. - Select "Interfacing Options" and navigate to "VNC".
- Enable VNC and reboot your Pi.
That’s it! You now have a VNC server running on your Raspberry Pi. But hold your horses—we’re not done yet. Before you start connecting, we need to make sure everything is secure.
Configuring VNC for Secure Connections
Step 2: Enabling Encryption
Encryption is your best friend when it comes to securing VNC connections. Without it, your data could be intercepted by anyone sniffing around on the network. Fortunately, RealVNC comes with built-in encryption, so all you need to do is enable it.
Here’s how:
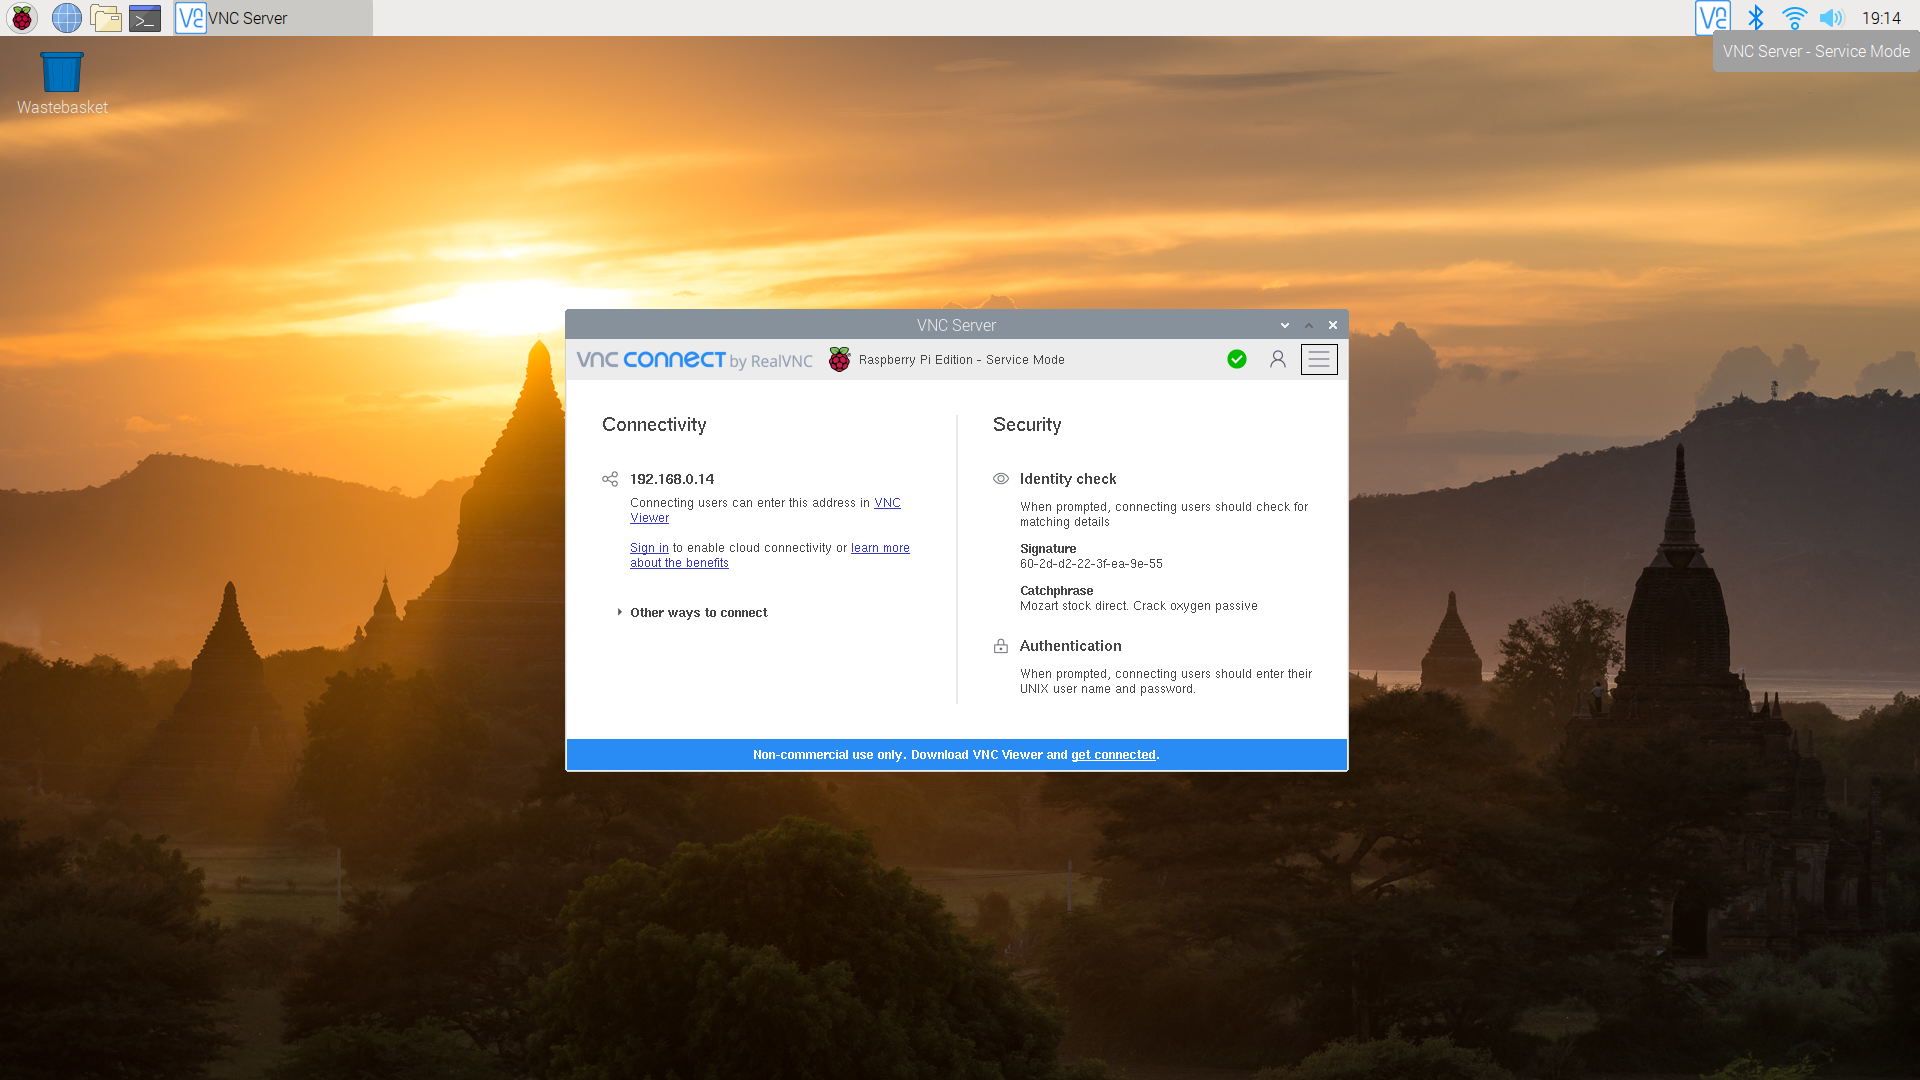
- Open the VNC Server settings on your Raspberry Pi.
- Go to "Security" and ensure that "Require Encryption" is checked.
- Set a strong password for your VNC connection. Make sure it’s something complex and not easily guessable.
With encryption enabled, your VNC connection will be much harder to crack. But we’re not stopping there. Let’s move on to the next step.
Securing Your Network with Firewalls
Step 3: Configuring the Firewall
A firewall is like a digital bouncer—it decides who gets in and who doesn’t. Setting up a firewall on your Raspberry Pi is a great way to protect your device from unauthorized access. Here’s how you can configure the firewall for VNC:
- Install UFW (Uncomplicated Firewall) by typing
sudo apt install ufw. - Allow VNC traffic by typing
sudo ufw allow 5900(VNC uses port 5900 by default). - Enable the firewall with
sudo ufw enable.
Now your Raspberry Pi has a firewall that only allows VNC connections on port 5900. This adds an extra layer of security to your setup.
Connecting to Your RPi via VNC
Step 4: Using a VNC Client
With the server side all set up, it’s time to connect to your Raspberry Pi from another device. You’ll need a VNC client for this. There are plenty of options available, but some of the most popular ones include RealVNC Viewer, TightVNC, and TigerVNC.
Here’s how you connect:
- Download and install a VNC client on your computer or mobile device.
- Enter your Raspberry Pi’s IP address and the port number (usually 5900).
- Log in using the password you set earlier.
Voilà! You’re now connected to your Raspberry Pi via VNC. But wait—there’s more we can do to make this connection even more secure.
Using SSH Tunneling for Extra Security
Step 5: Setting Up SSH Tunneling
SSH tunneling is a technique that allows you to securely tunnel VNC traffic through an encrypted SSH connection. This is especially useful if you’re connecting to your Raspberry Pi over the internet, where the risk of interception is higher.
Here’s how you set it up:
- Open a terminal on your computer and type
ssh -L 5900:localhost:5900 pi@your-rpi-ip. - Log in to your Raspberry Pi using SSH.
- Now, when you connect to localhost:5900 in your VNC client, the traffic will be securely tunneled through SSH.
With SSH tunneling, your VNC connection is as secure as it gets. Even if someone intercepts the traffic, they won’t be able to decipher it without the SSH keys.
Troubleshooting Common Issues
Step 6: Resolving Connection Problems
Let’s face it—things don’t always go as planned. If you’re having trouble connecting to your Raspberry Pi via VNC, here are a few common issues and how to fix them:
- Incorrect IP Address: Double-check that you’re using the correct IP address for your Raspberry Pi.
- Firewall Blocking: Make sure your firewall is configured to allow VNC traffic on port 5900.
- Wrong Password: Ensure that you’re entering the correct VNC password.
- Network Issues: If you’re connecting over the internet, ensure that your router is configured to forward traffic to your Raspberry Pi.
By addressing these issues, you should be able to resolve most connection problems. If not, feel free to drop a comment below, and we’ll help you out.
Best Practices for Secure VNC Connections
Step 7: Staying Safe and Secure
Here are a few best practices to keep your VNC connection as secure as possible:
- Use Strong Passwords: Avoid using simple or easily guessable passwords.
- Keep Software Updated: Regularly update your Raspberry Pi’s OS and VNC server to patch any security vulnerabilities.
- Limit Access: Only allow trusted devices to connect to your Raspberry Pi.
- Monitor Connections: Keep an eye on who’s connecting to your Pi and revoke access if necessary.
By following these best practices, you’ll significantly reduce the risk of unauthorized access to your Raspberry Pi.
Advanced Tips for Power Users
Step 8: Automating VNC Connections
If you’re a power user looking to automate your VNC connections, there are a few tricks you can use. For example, you can set up a script to automatically start the VNC server on boot or configure your firewall rules programmatically.
Here’s a quick example of a script to start VNC on boot:
- Create a file called
vncstart.shwith the following content: #!/bin/bashvncserver :1- Make the script executable with
chmod +x vncstart.sh. - Add the script to your startup applications.
With this setup, your VNC server will start automatically every time your Raspberry Pi boots up.
Conclusion: Wrapping It All Up
Well, there you have it—a comprehensive guide to connecting to your Raspberry Pi via VNC securely. From setting up the VNC server to configuring firewalls and using SSH tunneling, we’ve covered everything you need to know to keep your connection safe and sound.
Remember, security isn’t just about setting up a few features and calling it a day. It’s an ongoing process that requires vigilance and regular updates. By following the steps outlined in this guide, you’ll be well on your way to creating a secure VNC connection that will protect your Raspberry Pi from unwanted intrusions.
Now it’s your turn. Have you tried connecting to your RPi via VNC securely? What challenges did you face, and how did you overcome them? Share your thoughts in the comments below, and don’t forget to check out our other articles for more tips and tricks on all things tech. Happy hacking, my friend!
References
This article draws on information from trusted sources, including:
- RealVNC Documentation
- Raspberry Pi Official Documentation
- Linux Security Best Practices
Thank you for reading, and we hope this guide helps you take your RPi setup to the next level. Stay safe out there!
- Romain Zago Net Worth The Untold Story Of A Rising Star
- Victor Williams Net Worth The Untold Story Of Wealth Fame And Legacy

![[Fixed] VNC Viewer Not Connecting Issues (2024)](https://tryrdp.com/blog/wp-content/uploads/2023/01/Fix-VNC-Viewer-Not-Connecting-.png)
